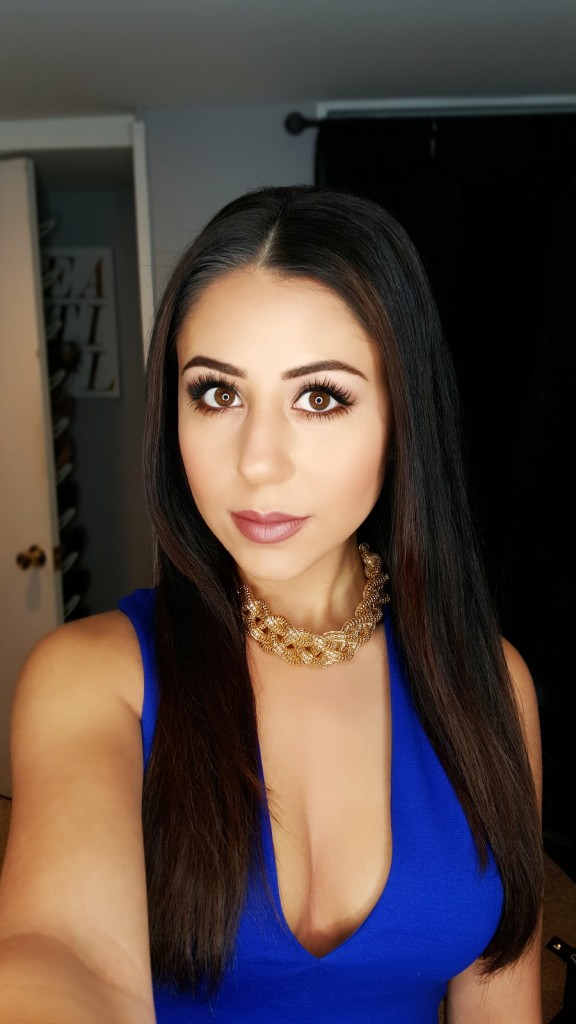
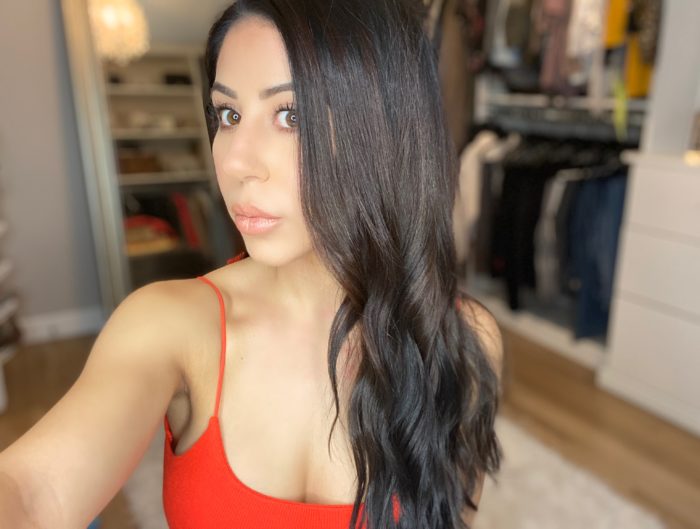
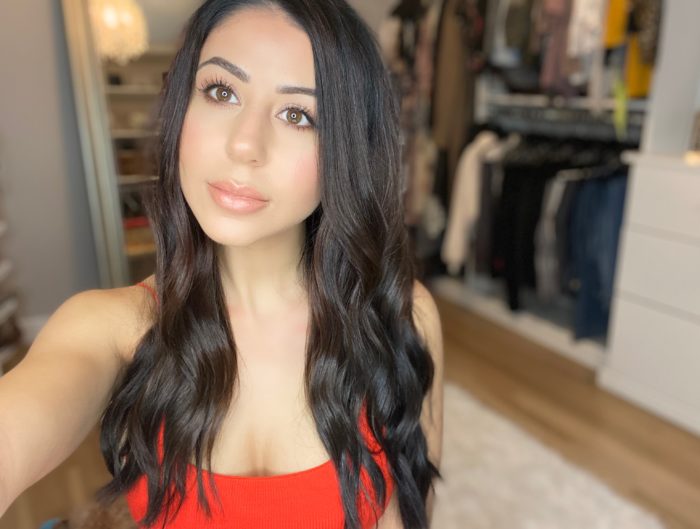
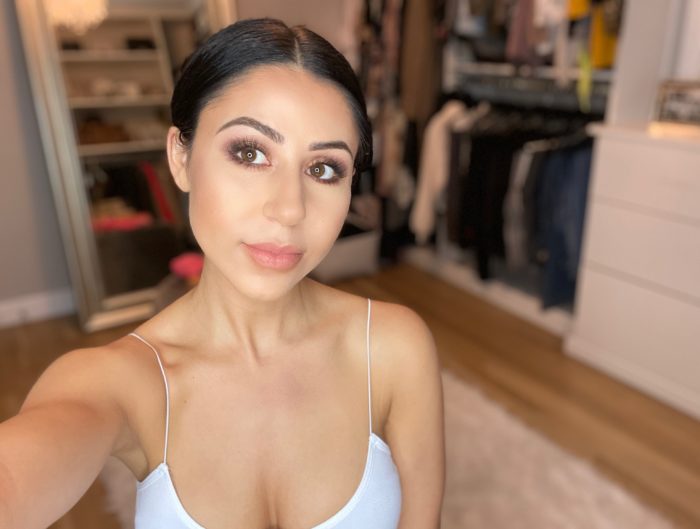
Hello loves! I posted a makeup look on Instagram over the weekend from a wedding I went to. This makeup look is great for lots of occasions. Typically, the colors I use for my makeup looks are great for everyone because I love sticking with neutral tones. I am still working on getting some tutorials together for you guys; I want them to be perfect! So in the meantime, this post has the complete product breakdown and how-to instructions for the look! This may seem like there are a lot of steps, because there are! It’s a lot, so take a little at a time and use what works for you! Comment below and let me know how you all do, I would love to see pictures! If you post on Instagram be sure to hashtag #beautyandtheboss & #dominique_beautique
Xo Dominique
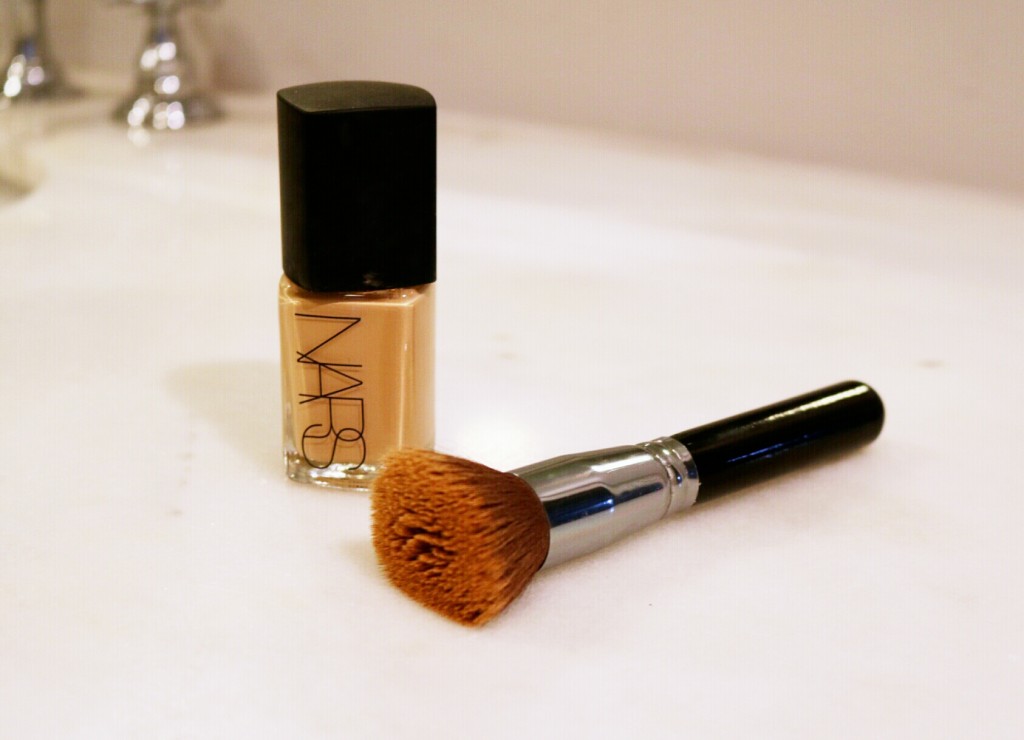
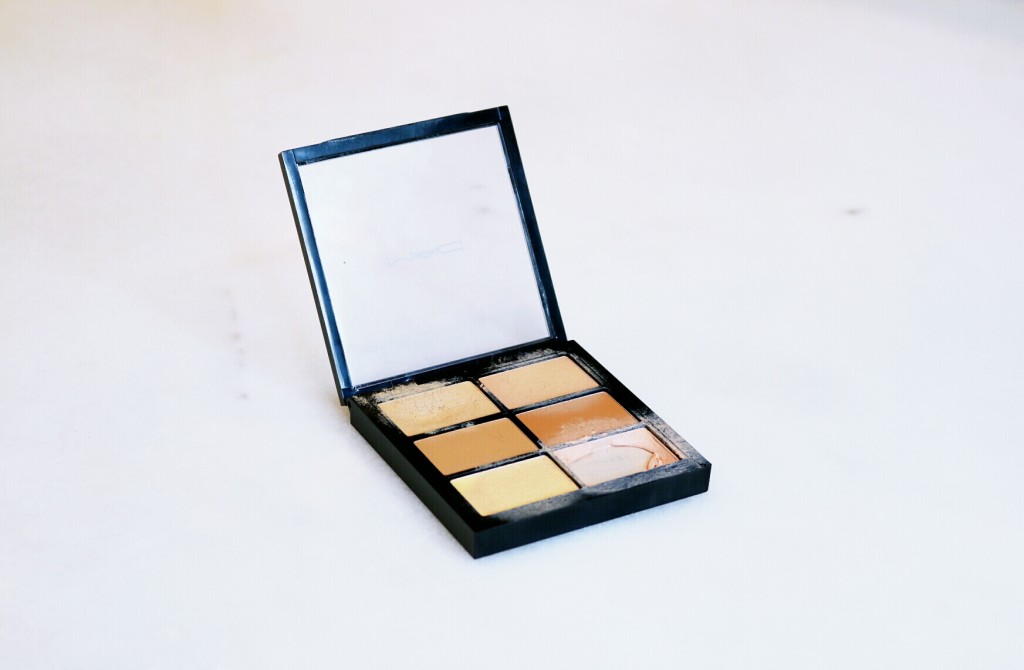
Step One, Foundation & Concealer: I use this flat top makeup brush to apply Nars Sheer Glow Foundation in “Barcelona” all over my face. A little goes a long way & you can always add more. The blending does not need to be perfect; the purpose of this step is to evenly disburse the product all over. Make sure you include your eyelids, down the neck (not all the way) and the ears, make sure you don’t include under the eyes! For concealer I use a peachy tone (bottom right) from the Mac Studio Conceal and Correct Palette in “Medium Deep”. This goes in a triangle shape connecting from corners of each eye to the start of the nose on each side. I also apply a little on the chin, the center of the forehead and down the nose.
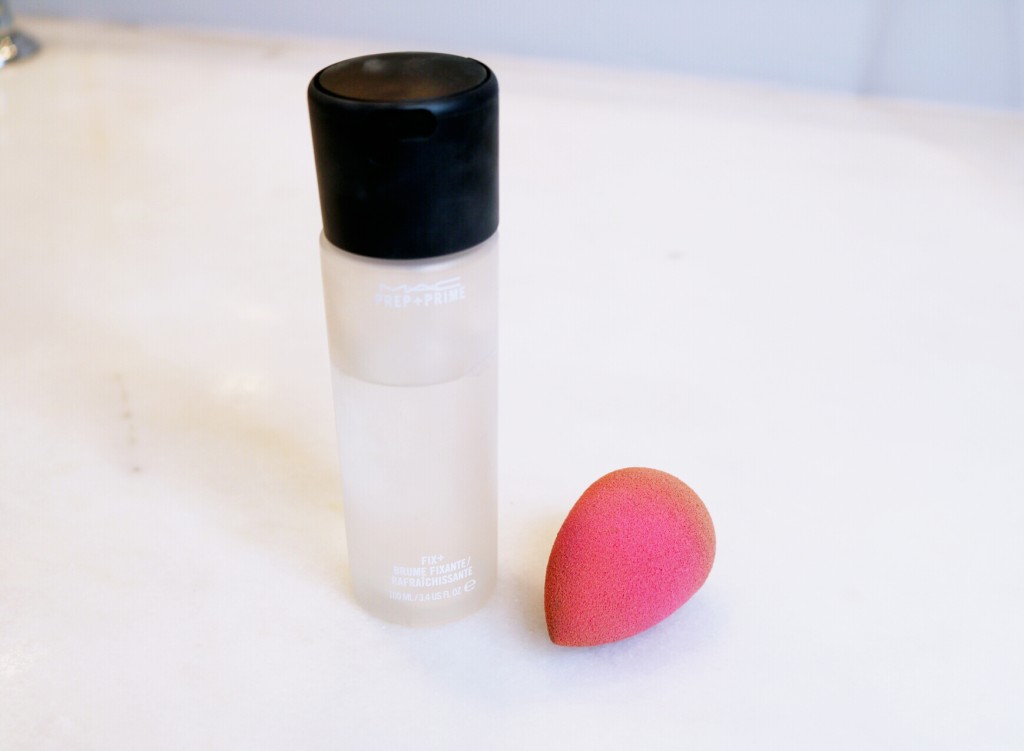
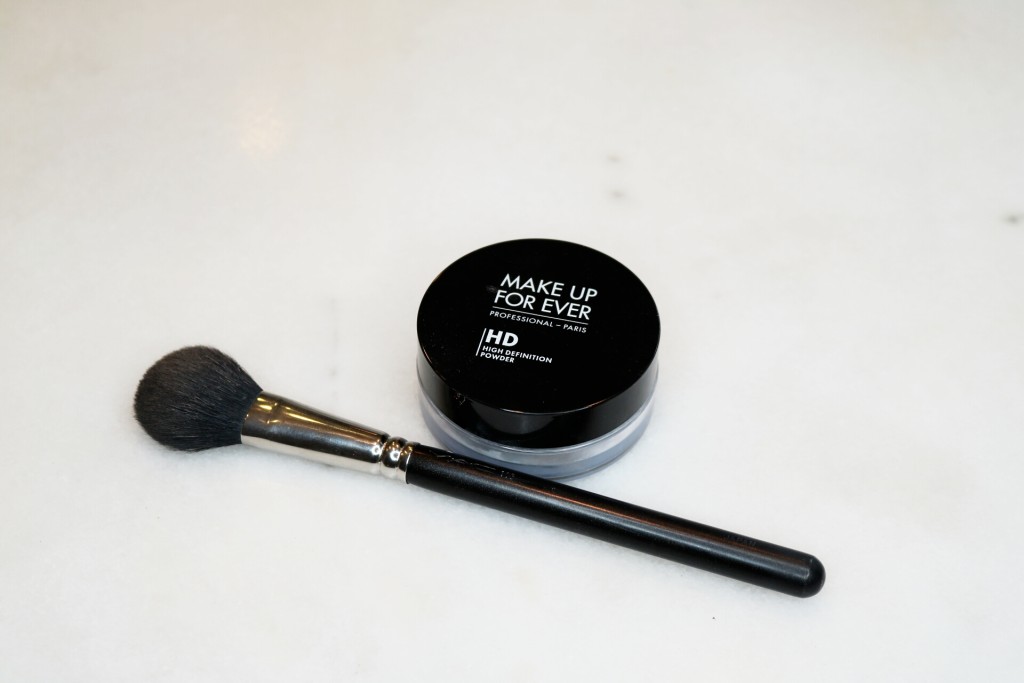
Step Two, Blend & Set: Here is where we blend, blend, blend with the Beauty Blender. You can dampen the BB with water but I like to use 2-3 pumps of Mac Fix+ Spray. Use the wider side of the BB to blend everywhere foundation was applied. Blend until you cannot blend anymore!!!!!!!! After that I set all of the concealed/highlighted areas with Makeup Forever HD High Definition Microfinish Loose Powder and my Mac brush #113.
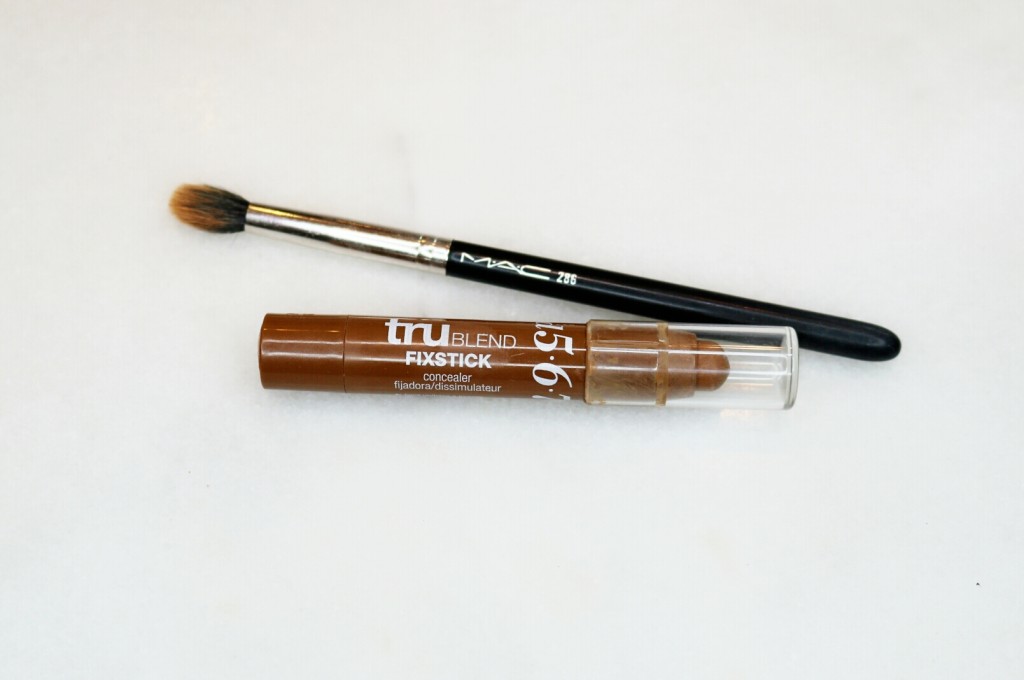
Step Three, Contour: For this look I did a heavier contour. When I do this I use Covergirl TruBlend Concealer Stick in “Medium Deep”. I apply this to the hollow of my cheek bones (think fishy face), the sides of my nose connecting at the tip, my temples and the top of my forehead (at the hairline). I blend this all with my Mac brush #286 and if that didn’t blend enough for you, go back in with your Beauty Blender!
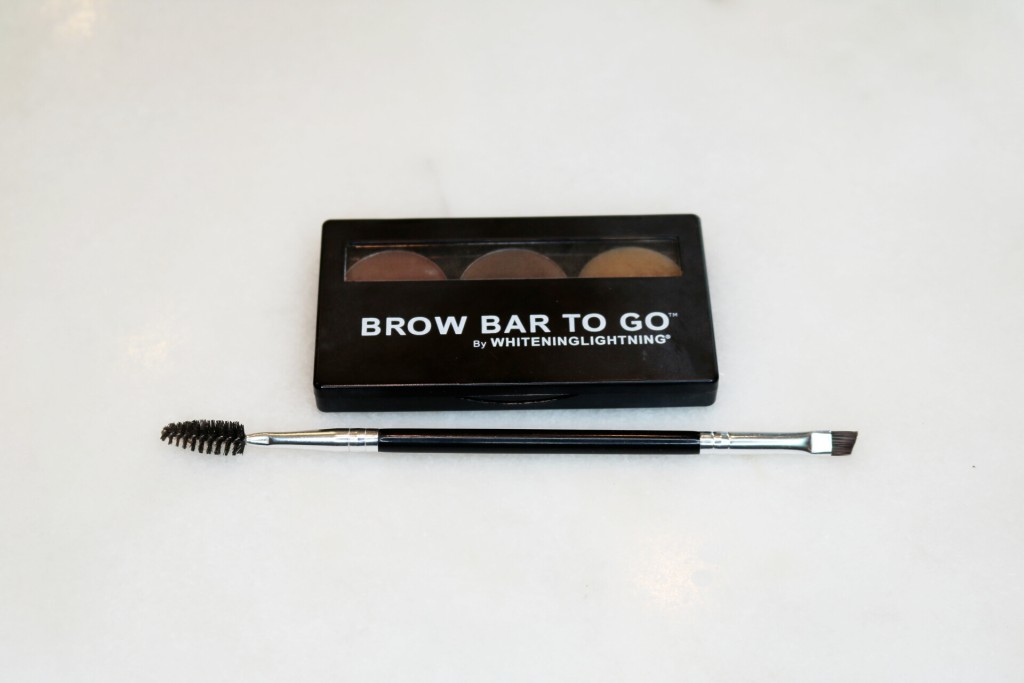
Step Four, Eyebrows: I love this brow palette by Whitening Lightening; they make one for dark hair and one for light hair. I generally use only the middle color because I like how it is neutral, no warmth to it. I apply this with the Anastasia Beverly Hills #12 Large Synthetic Duo Brow Brush. Like I said before, a little goes a long way, so start with minimal product. I start where my arch begins down to the end of the brow. Then lightly fill in from the start of the brow and meet where you began at the arch. Brush the brow hairs up throughout the application to make sure the hairs are laying correctly as you apply the powder.
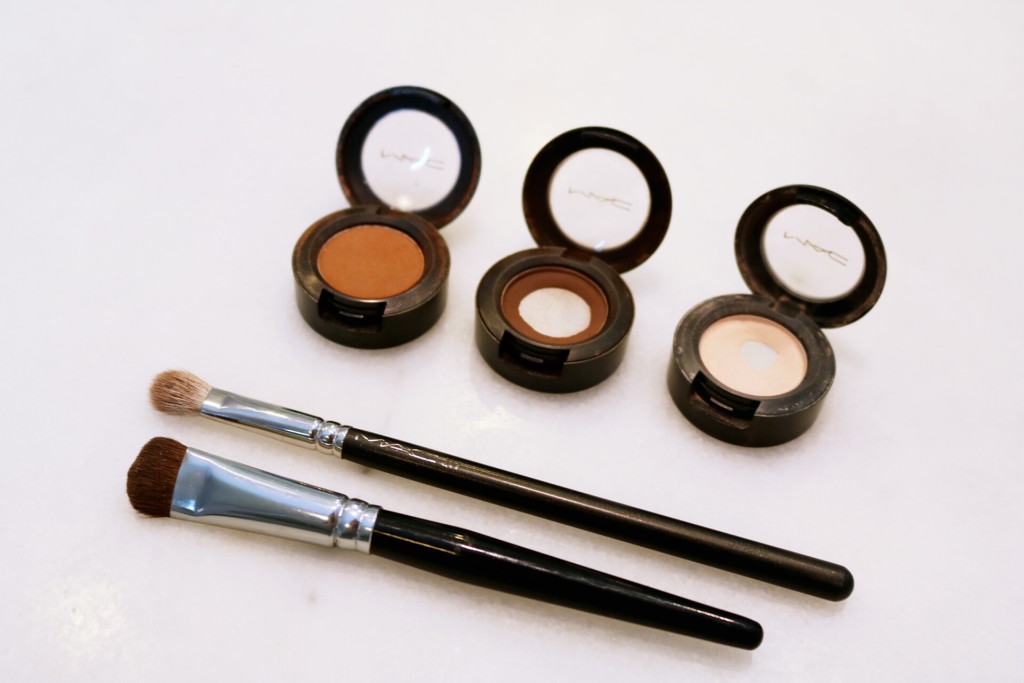
Step Five, Eye Shadow: All of the shadows I used for this look are by Mac. Using my Mac brush #217 apply “Saddle” over the whole lid up to the crease. The next color is “Corduroy” which goes in the crease, using the same brush, in a gentle windshield wiper motion. When I want a matte highlight under the brow I always use “Orb”. I apply this under the brow down to where I stopped blending the crease using a wider, flatter shadow brush (the brush I used is pictured but I don’t remember where it’s from!) Without adding any extra (or very little) shadow, this brush and “Orb” can be used to blend any harsh lines left behind from the darker shadows. Lastly, apply any highlight color to the very inner corners of your eyes, here I used Becca Pressed Shimmering Skin Perfector in”Opal”.
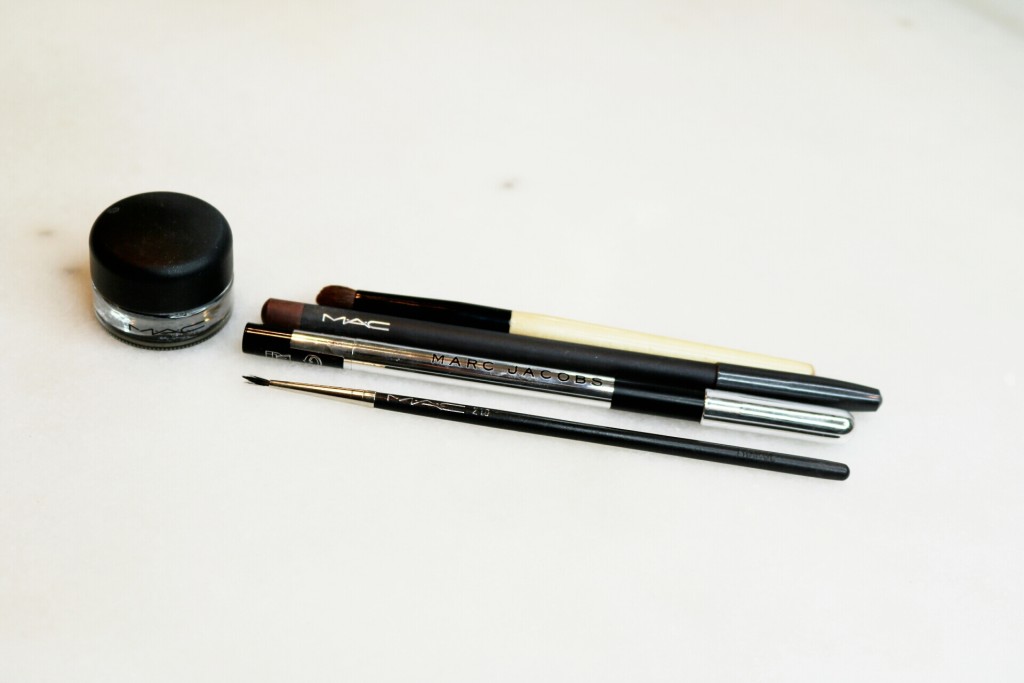
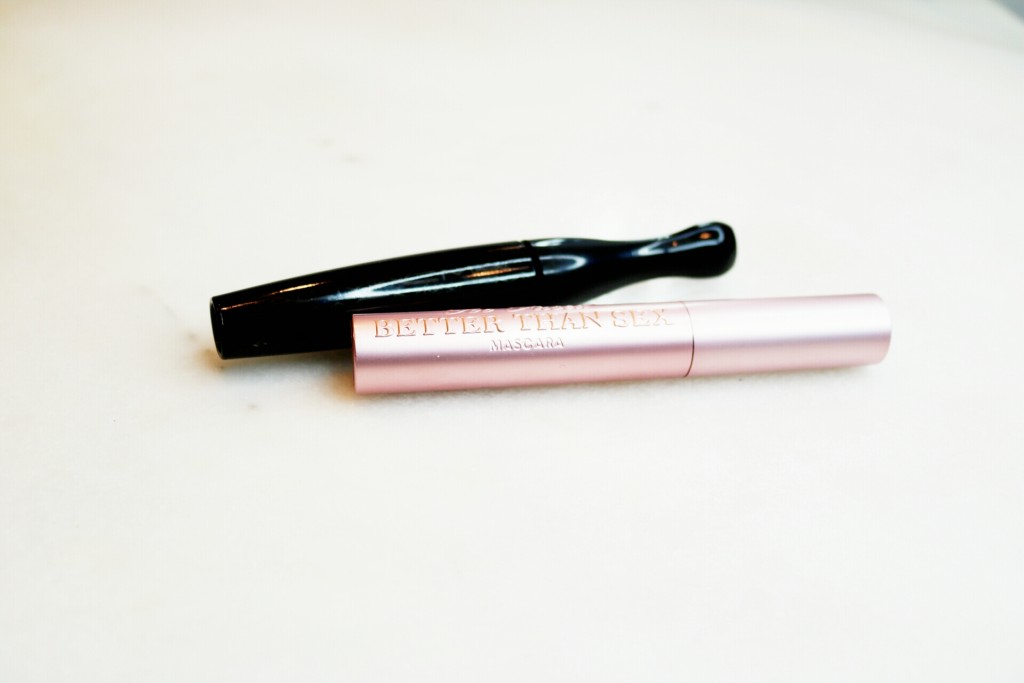
Step Six & Seven, Eye Liner and Mascara: My go-to liner is Mac Fluidline in “Blacktrack” with brush #210. This liner spreads easily, so a little at a time and as close to the lash line as possible. Next is Mac Eye Kohl Liner in “Costa Riche” in the lower lash line as well as in the lower waterline. Blend the liner on the lower lash line back and forth with a fluffy but more refined tip shadow brush. Use Marc Jacobs Beauty Highliner Gel Eye Crayon in “Blacquer” in the upper waterline. I do 2 coatings of mascara, first with a more refined mascara wand then with a fluffier wand. I start with the Mac Extra Dimension 3D Black Lash Mascara and then use Better Than Sex Mascara by Too Faced. If any powder fell below the eye, be sure to use a makeup wipe, re-apply the under eye concealer, re-blend with the BB & set.
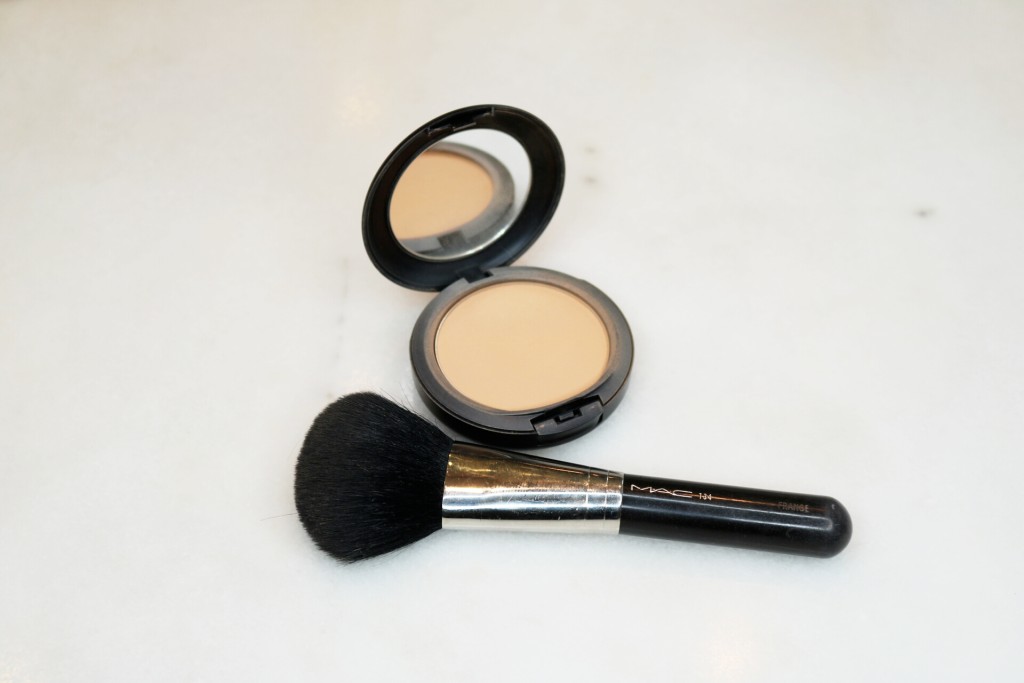
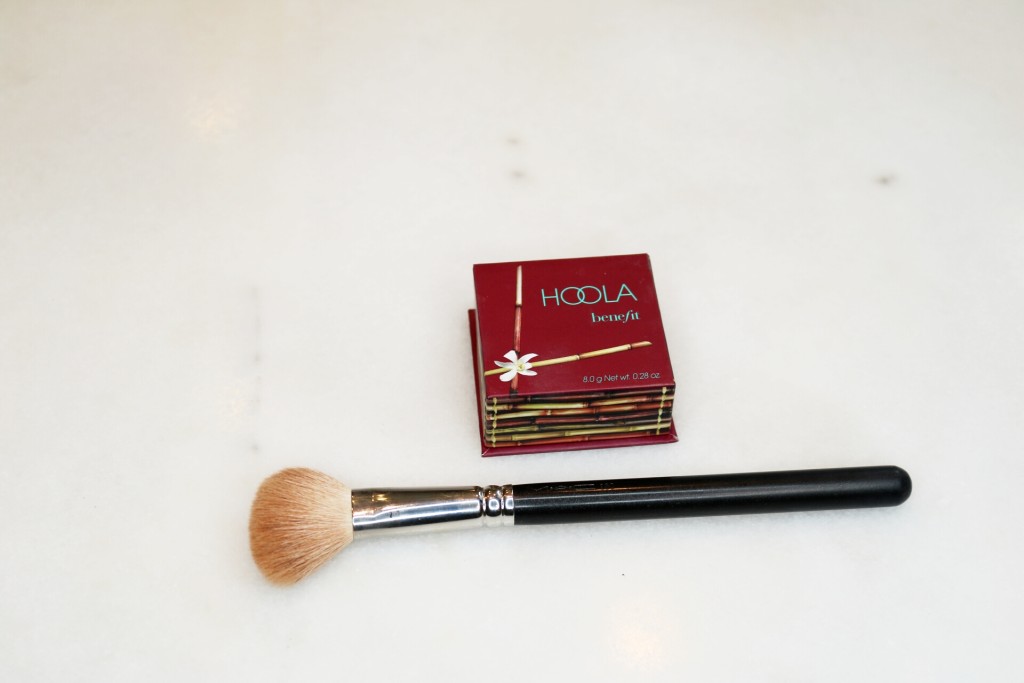
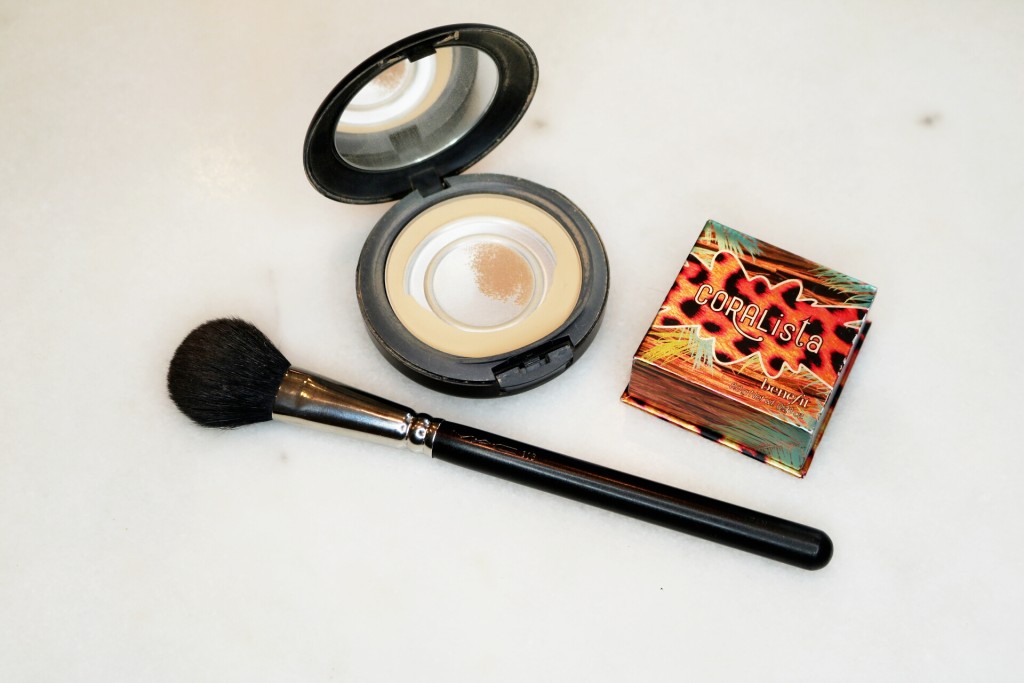
Step Eight, Finishing Powders, Bronzer & Blush: To finish off the look, I use Mac Studio Fix Powder Foundation in NC42 all over the face, except under the eyes with my Mac brush #134. Next, use Hoola Bronzer by Benefit over the same places you contoured with the concealer stick in Step Three using the Mac brush #168. Then use Mac Studio Fix Powder in NC30 with Mac brush #113 to create a line under the bronzer to give a more defined contour. Blend the line with the same brush using a circular motion until the fine line is gone; also blend the top of your cheek bone, the center of the forehead and a little down the bridge of the nose (you can put more of the lighter Studio Fix Powder NC30 on the brush for the highlighted areas). Apply Benefit’s Coralista blush to the apples of the cheeks with the same brush and then highlight the cheek bone up towards the temples with the Becca Pressed Shimmering Skin Perfector.
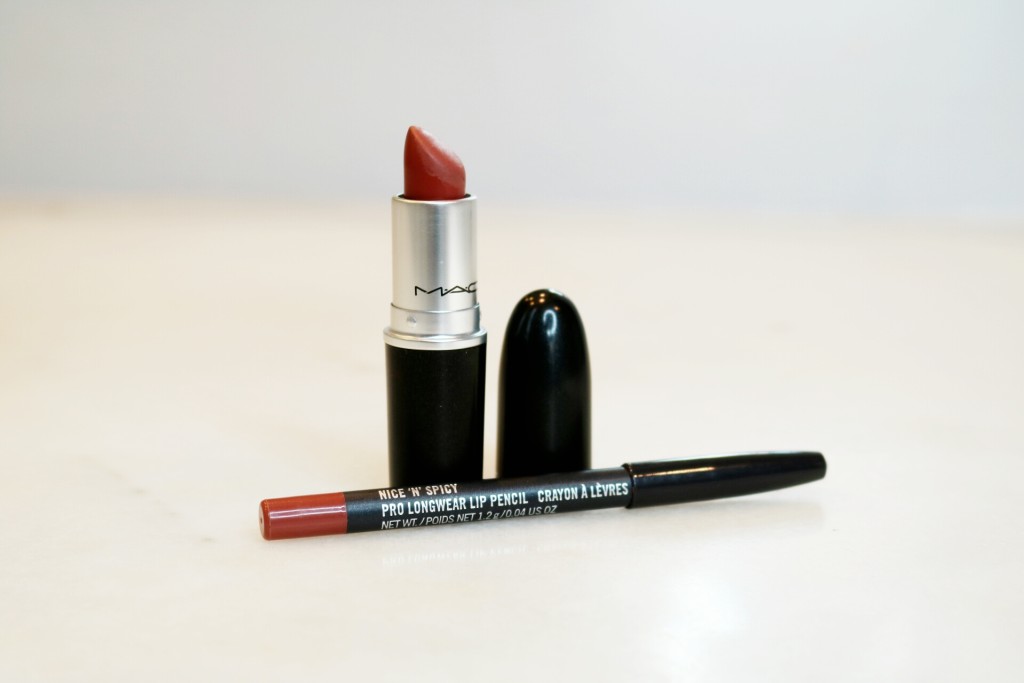
Step Nine, Lips: I lined my lips with my all-time fave Mac Pro Longwear Lip Pencil in “Nice n Spicy” and fill in the lips a little as well, just leaving out the centers. That’s where I apply Mac Lipstick in “Whirl”. If need you can use a lipstick brush to blend the two, but they are so similar it shouldn’t be necessary.
Step Ten, Finishing Spray: Lastly, I use Mac Fix+ Spray to set everything. Be sure to hold it a good distance from the face before spraying. I use 3-4 sprays.

4 Comments
[…] outfit post. Below are only the eye and lip details, you can find the full face details on the post “Evening Look How-To”. Since spring is finally here I thought a soft pink lip would be fun & it looks great on so […]
It’s actually a cool and helpful piece of info. I’m happy that you shared this
useful information with us. Please keep us up to date like this.
Thank you for sharing.
I simply want to say I am just all new to blogging and site-building and seriously loved you’re web-site. Almost certainly I’m planning to bookmark your blog . You absolutely have great article content. Kudos for sharing with us your website page.
Very informative post.Really looking forward to read more. Really Great.